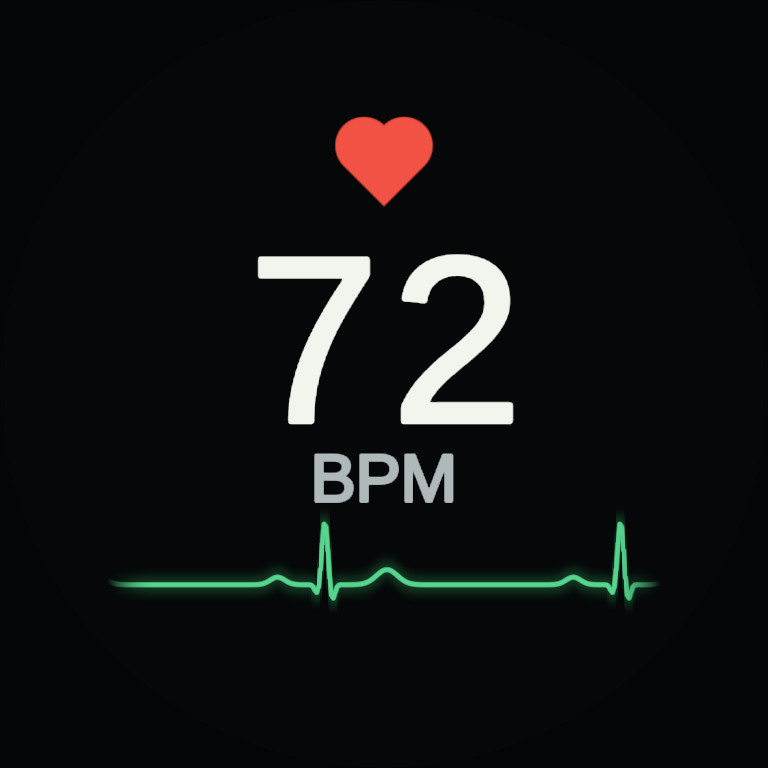
心拍Heart rate
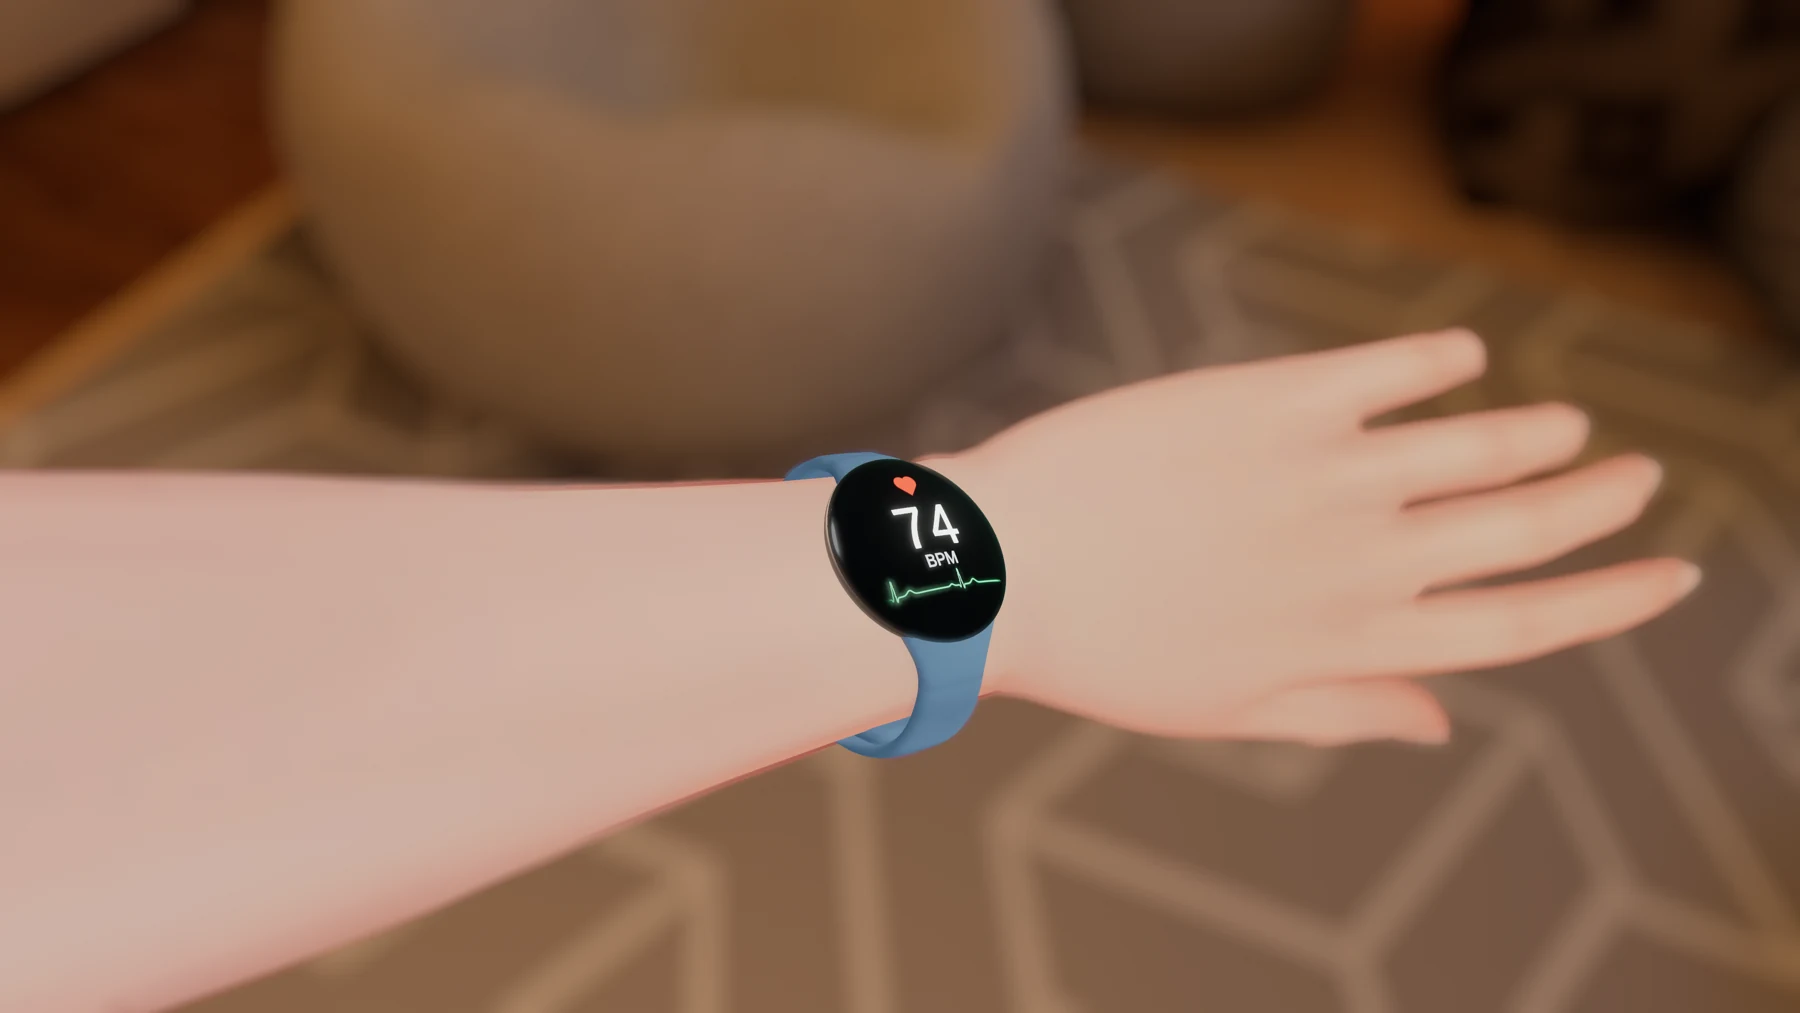
大きなBPMと心電図。心拍計と連携するほか、メニューから手動でも設定できます。Large BPM digits and an ECG. Connect a heart rate monitor or set the value manually from the menu.
WATCH + BONUS CHARM
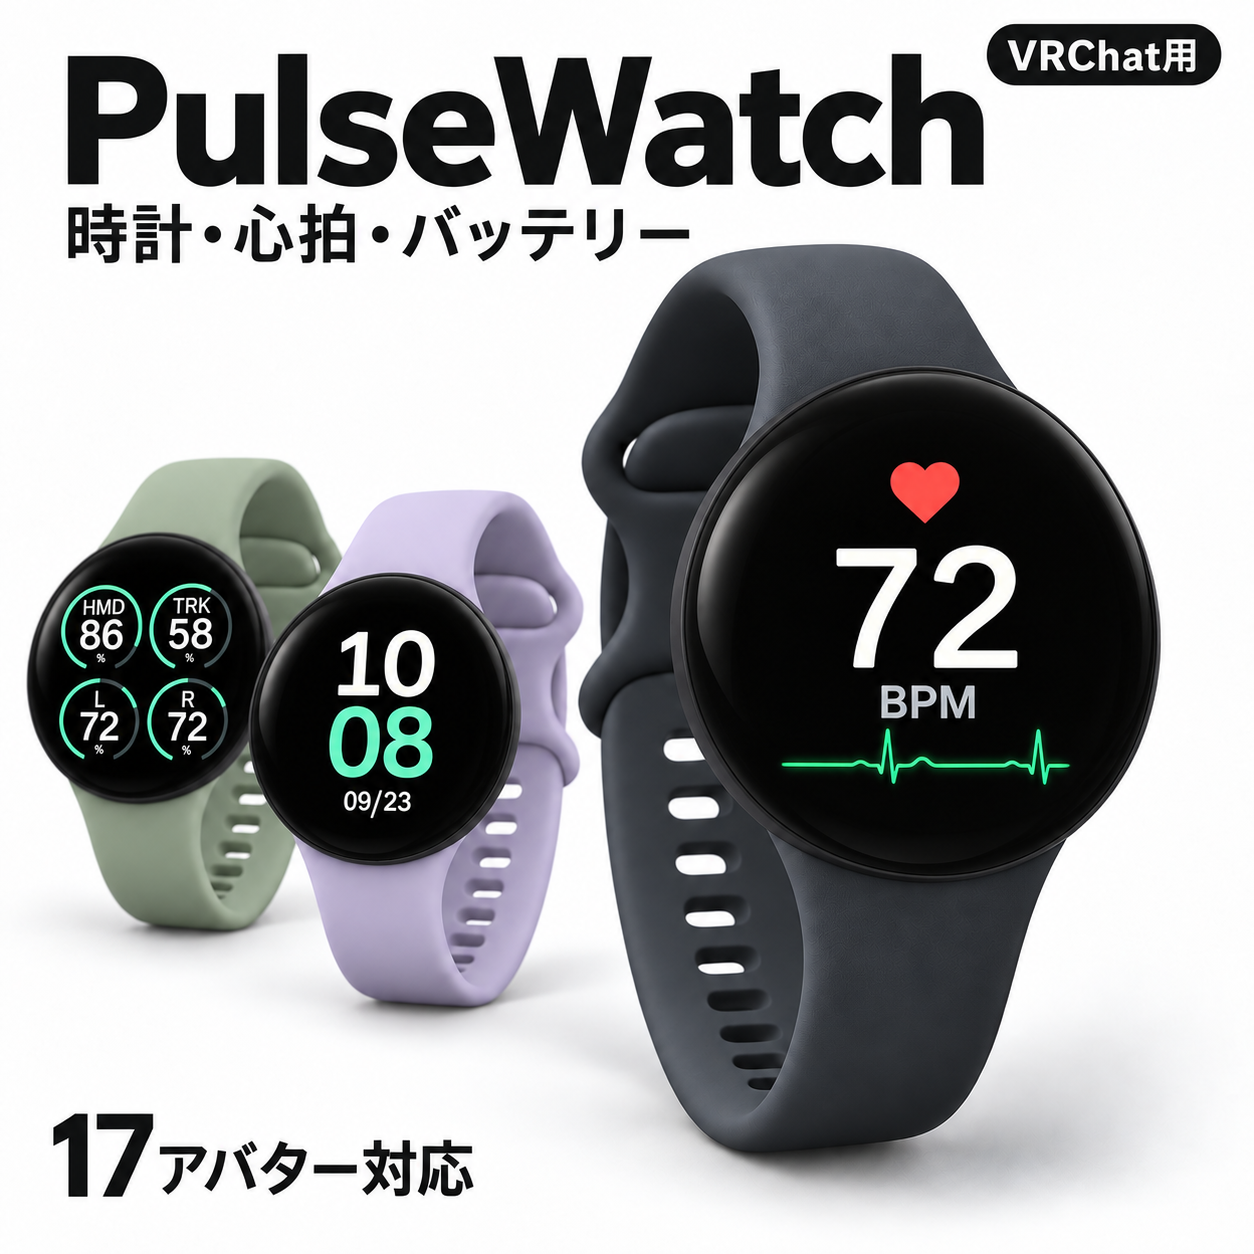
時計・心拍・バッテリーを手首にTime, heart rate and battery on your wrist
時計型ディスプレイの導入とカスタマイズ。
キーホルダー型「PulseCharm」の使い方もこちら。Setup and customization for the watch-style display
and the included PulseCharm keychain.
大きなBPMと心電図。心拍計と連携するほか、メニューから手動でも設定できます。Large BPM digits and an ECG. Connect a heart rate monitor or set the value manually from the menu.
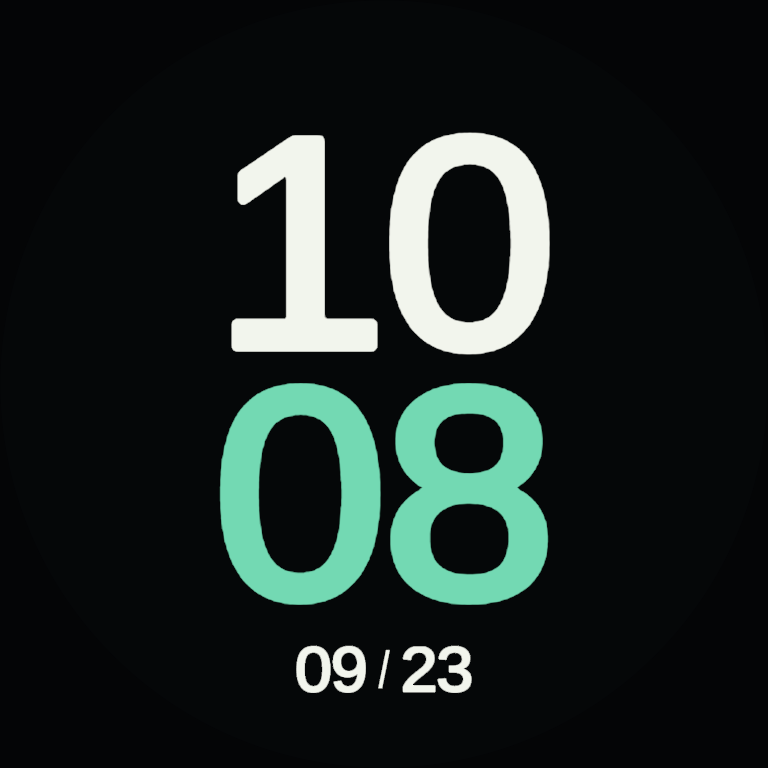
OSC不要の現在時刻。デジタル2種類・アナログ1種類から選べます。Current time without OSC. Choose two digital designs or one analog face.
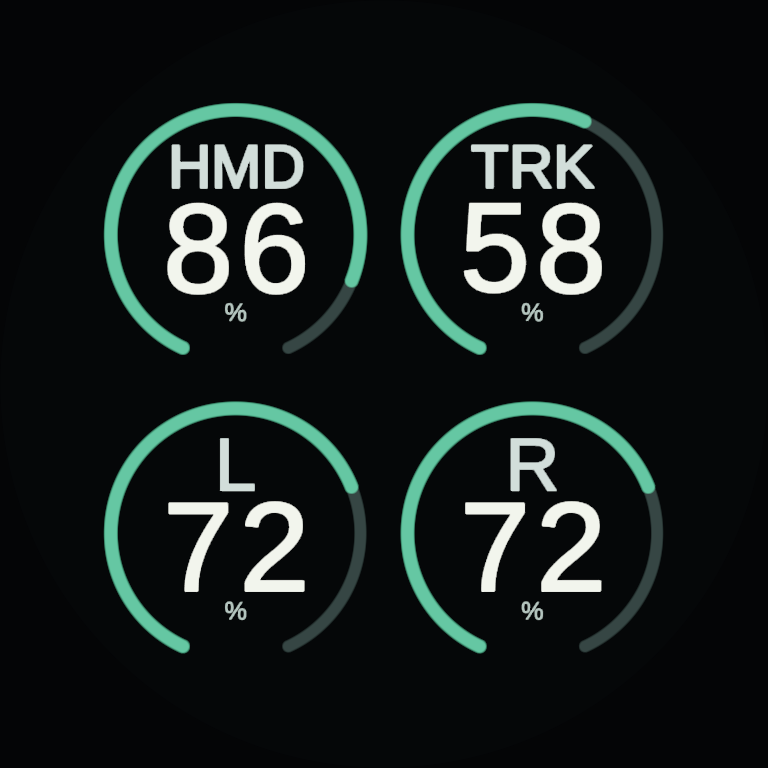
HMD・左右コントローラー・トラッカーの残量を表示。OSC入力が必要です。Battery levels for the headset, left/right controllers and trackers. Requires OSC input.
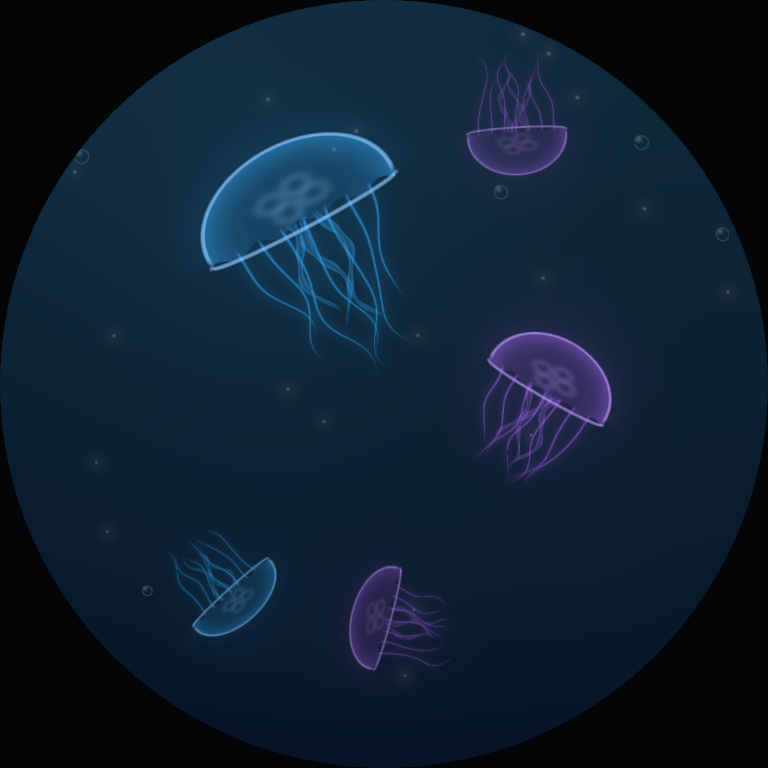
5体のクラゲと、気泡・プランクトン。クラゲは2色を自由に選べます。Five jellyfish, bubbles and plankton. Choose two colors for the jellyfish.
好きな静止画やアニメーションを表示。標準はショップロゴとQR、アバター専用版は対応画像を設定済みです。Display a still image or animation. Defaults are the shop logo/QR or the matching avatar sprite.
画面はUnityで描画した表示例です。心拍・バッテリーは見本の値です。ワールドの照明や設定により見え方が変わります。These display examples were rendered in Unity. Heart rate and battery values are samples. Appearance varies with world lighting and settings.
確認環境:Unity 2022.3.22f1 / Modular Avatar 1.18.1 / lilToon 2.3.4。SDK・MA・lilToon・アバター本体は商品に含まれません。Quest / Android単体向けには対応していません。Tested with Unity 2022.3.22f1, Modular Avatar 1.18.1 and lilToon 2.3.4. The SDK, MA, lilToon and avatars are not included. Standalone Quest / Android avatars are not supported.
PulseWatch_20260923_r7.unitypackage をUnityにインポートします。Extract the downloaded ZIP and import PulseWatch_20260923_r7.unitypackage into Unity.
Assets/NINOVELLIR/PulseWatch/Prefabs/Avatars/ を開き、自分のアバター用Prefabを選びます。Open Assets/NINOVELLIR/PulseWatch/Prefabs/Avatars/ and choose your avatar’s prefab.
17体のプリセットは左手首用です。体型改変・袖・アバターのバージョンによって微調整してください。専用Prefabには対応するドット絵を設定済みです。The 17 presets fit the left wrist. Body edits, sleeves and avatar versions may require adjustment. Each avatar prefab already has its matching pixel-art sprite.
未対応アバターでも、汎用Prefab Prefabs/PulseWatch.prefab を置いて調整できます。汎用版は愛莉の初期値です。For other avatars, use Prefabs/PulseWatch.prefab and adjust the fit. The base prefab starts with Airi’s values.
17体分の初期フィットは手動で調整済みです。衣装・体型・好みに合わせて、位置・傾き・サイズを微調整してください。The 17 fit presets were adjusted manually. Fine-tune position, tilt and size for your body shape, outfit and preference.
Belt_Height / Belt_Width は両方 50が元形状です。通常は50のまま、Transformで合わせます。For Belt_Height and Belt_Width, 50 is the original shape. Normally leave both at 50 and fit using Transform.
装着ツールは Tools → NINOVELLIR → PulseWatch → 時計の装着とサイズ。アバターのAnimatorと調整する時計を指定すると、同じ調整やプロファイルの保存ができます。すでに手動調整した時計へプロファイルを再適用すると、その位置・回転・サイズが置き換わります。Open Tools → NINOVELLIR → PulseWatch → 時計の装着とサイズ (watch fitting). Assign the avatar Animator and watch to adjust and save a profile. Reapplying a profile replaces the watch’s current position, rotation and scale.
右手につける場合は、MA Bone Proxyの対象を右前腕へ変更してから位置・回転を調整します。For the right wrist, change the MA Bone Proxy target to the right lower arm, then adjust position and rotation.
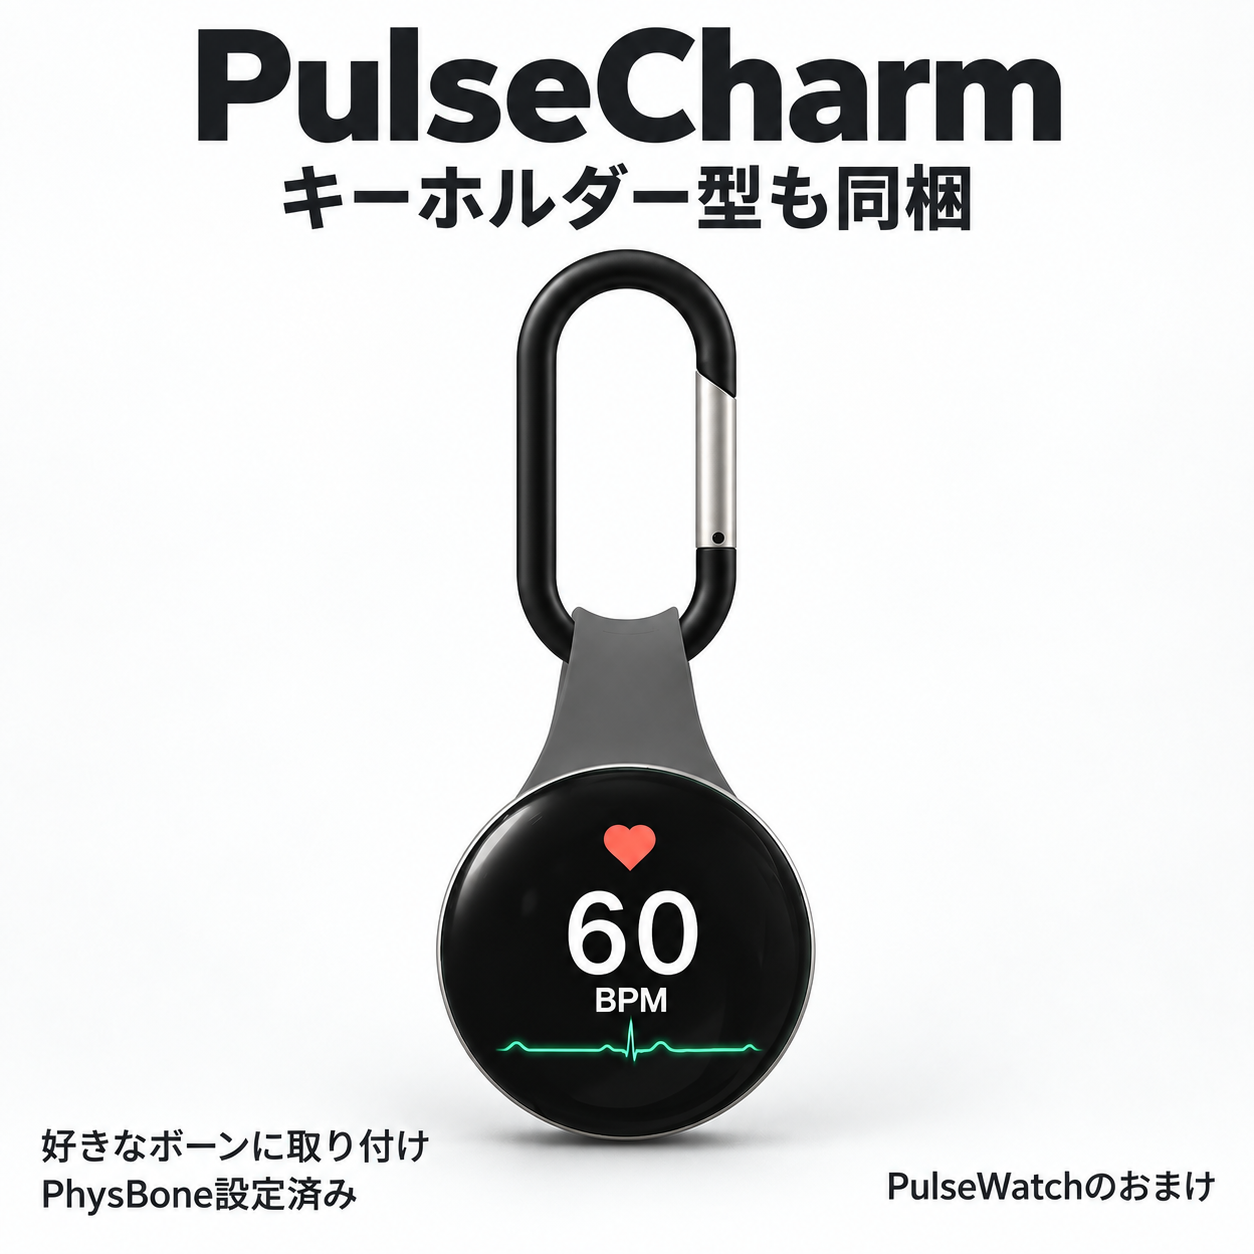
丸い金属筐体を短いシリコンベルトでカラビナにつないだ、キーホルダー型のPrefabです。PulseWatchに同梱しています。A keychain prefab with a round metal case, a short silicone bridge and a carabiner, included with PulseWatch.
Prefabs/Bonus/PulseCharm.prefab を、アバター内の装着したいボーンの子へ置きます。Place Prefabs/Bonus/PulseCharm.prefab under the bone you want it attached to, inside the avatar.
0.6 / 0.6 / 0.6。カラビナ・短いベルト・筐体に揺れ用PhysBoneを設定しています。Default scale is 0.6 / 0.6 / 0.6. The carabiner, short bridge and case have PhysBones for swinging.
カバンの見た目のメッシュではなく、取り付け位置を動かしているカバン側のボーンの子へ配置します。PulseCharmルートのMA PhysBone Blockerは残してください。親の揺れと内部のPhysBoneが重複して作用することを防ぎます。Parent it to the bag bone that actually moves the attachment point. Keep the MA PhysBone Blocker on the PulseCharm root to prevent the parent PhysBone from also simulating the charm’s internal bones.
PulseCharmにMA Bone Proxyは初期設定していません。直接ボーンの子にするだけで使えます。ベルト側に筐体との接触用コライダーを設定済みです。体やカバンとの接触も必要な場合は、その装着先用のPhysBone Colliderを追加します。PulseCharm does not have a preset MA Bone Proxy; direct bone parenting is sufficient. A collider on the bridge limits contact with the case. Add suitable PhysBone Colliders if you also need contact with the body or bag.
| メニューMenu | 操作Action |
|---|---|
| 表示ON/OFFVisibility | そのアクセサリーを表示・非表示。Show or hide that accessory. |
| ページ切替Page select | 心拍 → 時計 → バッテリー → クラゲ → 画像。メニューから直接選べます。Heart rate → clock → battery → jellyfish → image. Select any page from the menu. |
| 画面の明るさBrightness | ワールドに合わせて画面を調整。Adjust the display for the world’s lighting. |
| 手動心拍Manual HR | 心拍計なしで数値を指定。0に戻すとOSC入力を使います。Set a value without a monitor. Return it to 0 to use OSC input. |
画面の少し手前にある操作部分をつかみます。Grab the interaction area just in front of the display.
軽く引くと、次のページへ切り替わります。A gentle pull advances to the next page.
続けて切り替えるときは、一度離してからまたつかみます。Release, then grab again to switch another page.
1回のつかみで1ページ。時計・PulseCharmの両方に対応。メニューからも直接選べます。One grab, one page. Works with PulseWatch and PulseCharm. You can also choose a page from the menu.
引っ張り操作では心拍・バッテリーの入力がないページを飛ばします。メニューでの直接選択はできます。自分のPhysBoneをつかめるよう、VRChat側のアバターインタラクション設定を確認してください。Tug-switching skips heart rate or battery pages when their data is absent; direct menu selection remains available. Enable grabbing your own PhysBones in VRChat’s avatar interaction settings.
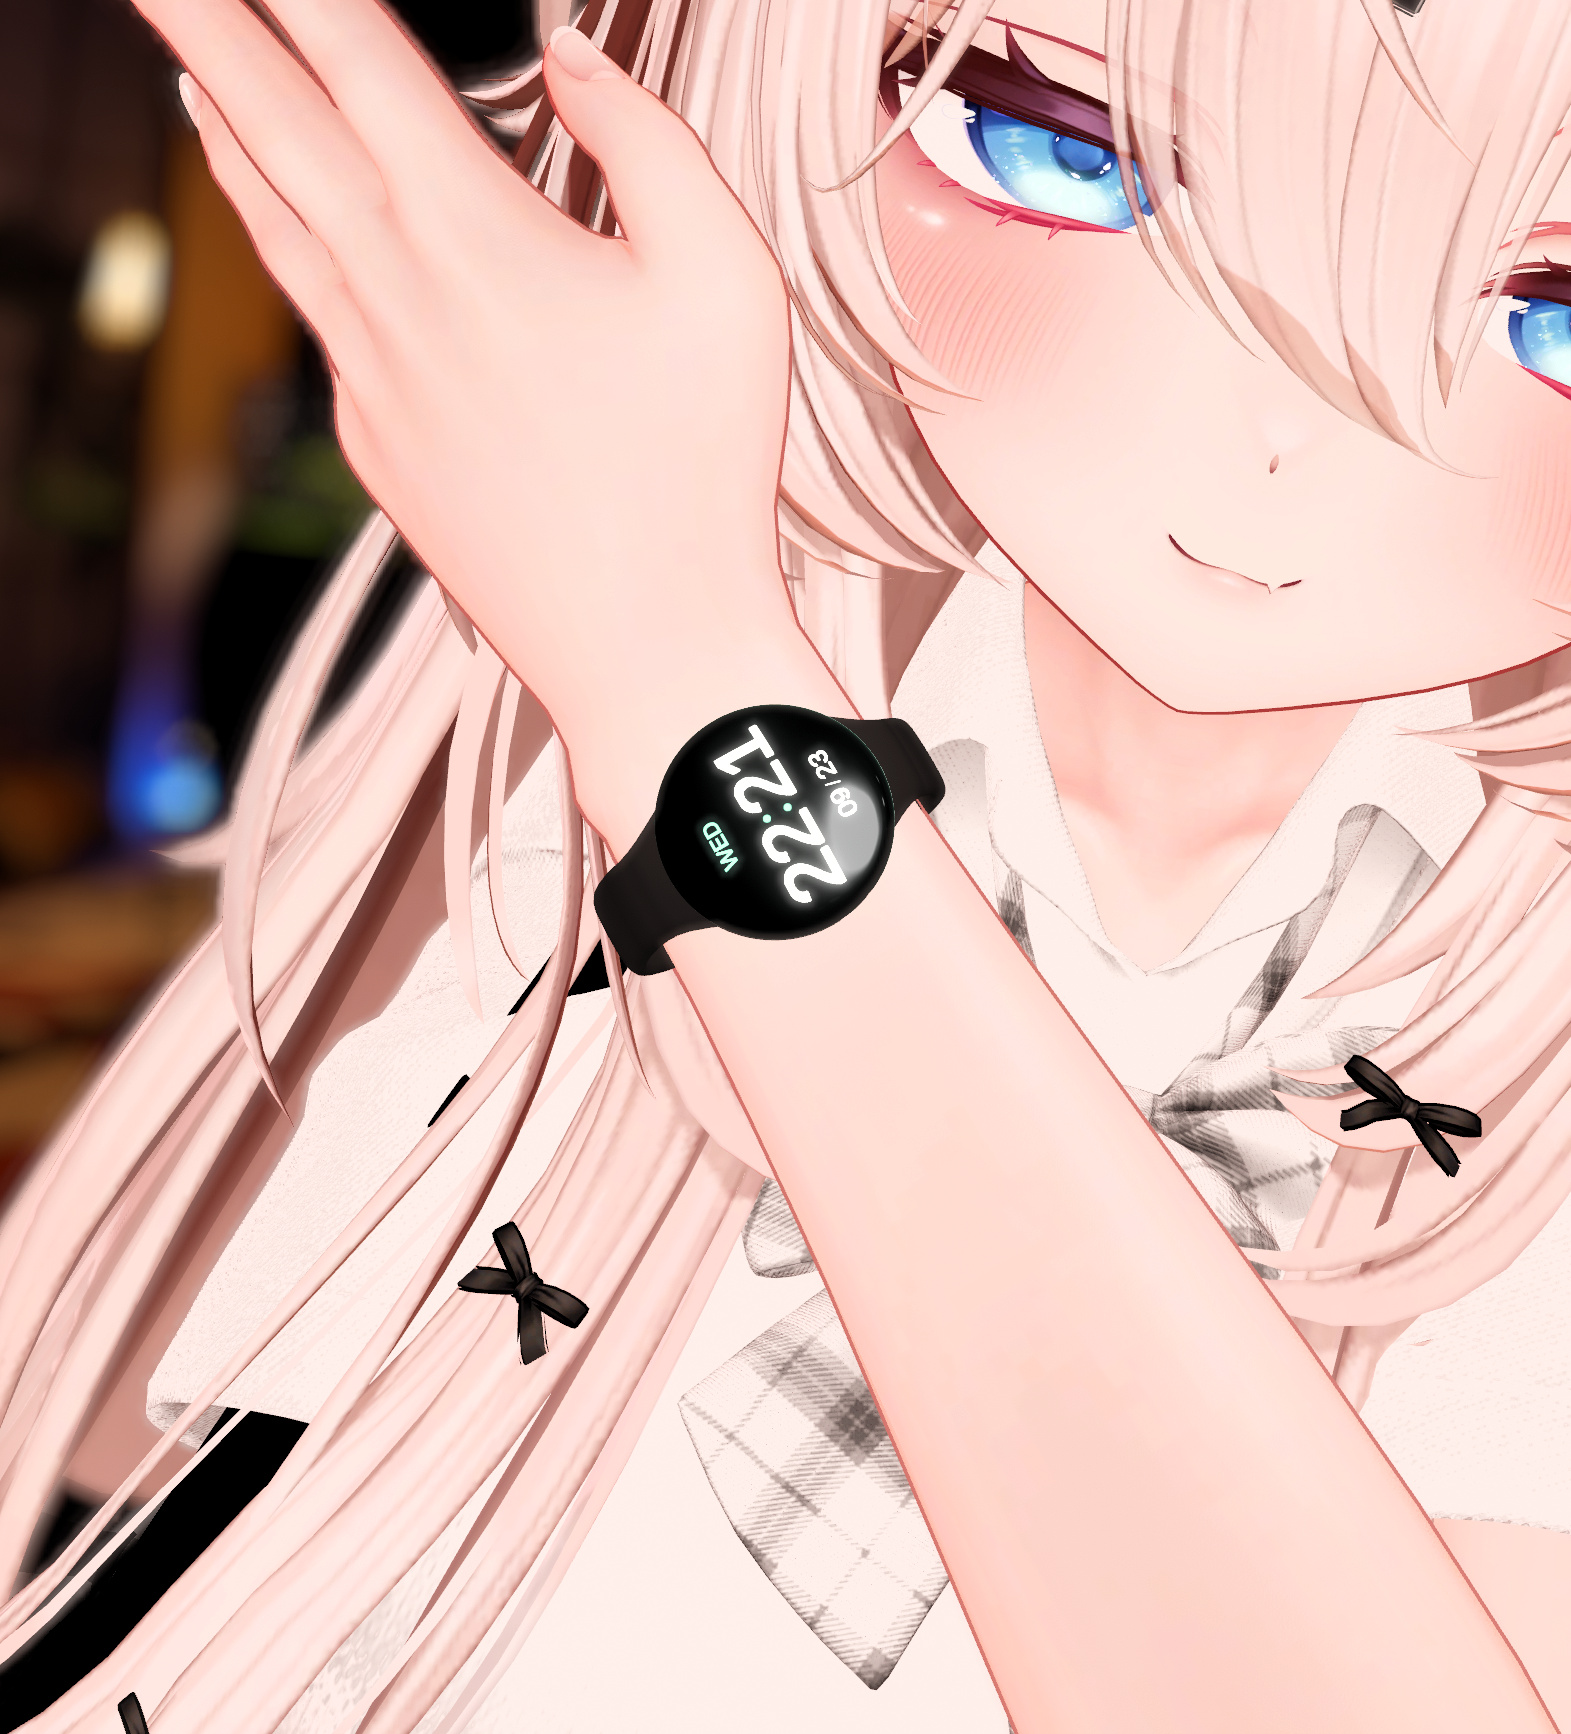
初期デザインは C_StackedDigital。時計とPulseCharmの両方で使えます。時計ページを開くには、Expression Menuの「表示ページ → 時計」を選びます。The default is C_StackedDigital, available on both PulseWatch and PulseCharm. Select Clock from Display Pages in the Expression Menu.
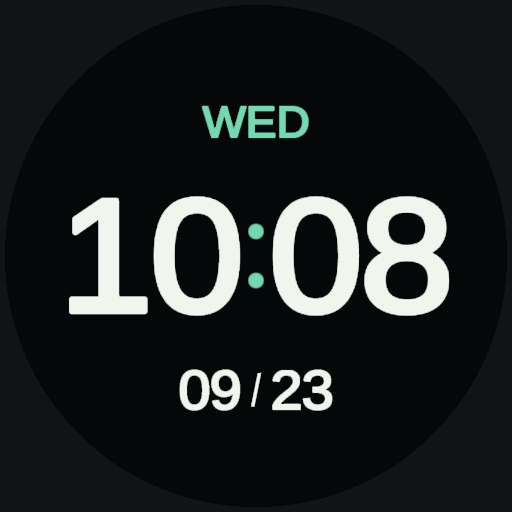
大きな横並びデジタル・曜日と月日Wide digital time with weekday and date
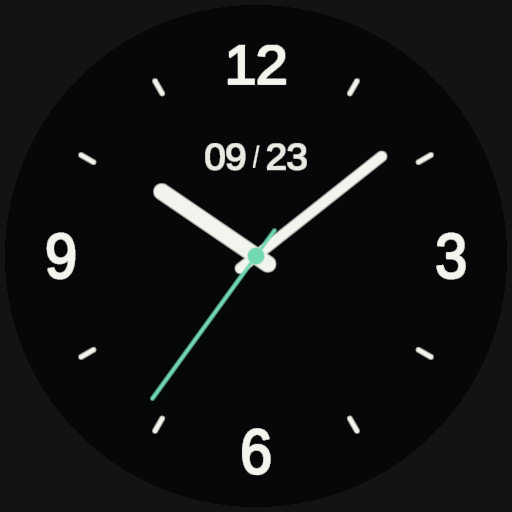
時針・分針・秒針と月日Hour, minute and second hands with date
時と分を上下に配置・月日(初期設定)Stacked hours and minutes with date (default)
画面マテリアルの Clock Style / Clock Accent Color からも設定できます。白い数字は Number Color で変更できます。同じマテリアルを使うオブジェクトには同じ配色が反映されます。You can also edit Clock Style / Clock Accent Color on the screen material. Use Number Color for the white digits. Objects sharing the material share the same design and colors.
表示時刻は見る人自身のVRChatのタイムゾーン設定に従います。装着者の時刻を全員へ同期する方式ではありません。デジタル表示は24時間制、日付はMM/DDです。The clock follows each viewer’s own VRChat timezone setting. It does not broadcast the wearer’s time to everyone. Digital faces use 24-hour time and MM/DD dates.
Unityで確認するときは Debug Page Override → Clock。時刻データがない環境では Editor Preview Hour / Minute の見本時刻を表示します。確認後は FollowAnimation に戻してください。VRChat内では現在時刻に切り替わります。Preview in Unity with Debug Page Override → Clock. Without runtime time data, Editor Preview Hour / Minute sets a sample time. Restore FollowAnimation afterward. The clock uses current time in VRChat.
SDK内のVRCTime.cgincへの依存はありません。古いパッケージでincludeエラーが出る場合は、この版のシェーダーとPWClock.cgincをまとめて更新してください。The shader does not depend on VRCTime.cginc inside the SDK. If an older package reports an include error, update the shader and PWClock.cginc together from this release.
Tools → NINOVELLIR → PulseWatch → カラー変更 を開きます。配色はUnity側で設定します。Open Tools → NINOVELLIR → PulseWatch → カラー変更 (colors). Color customization is performed in Unity.
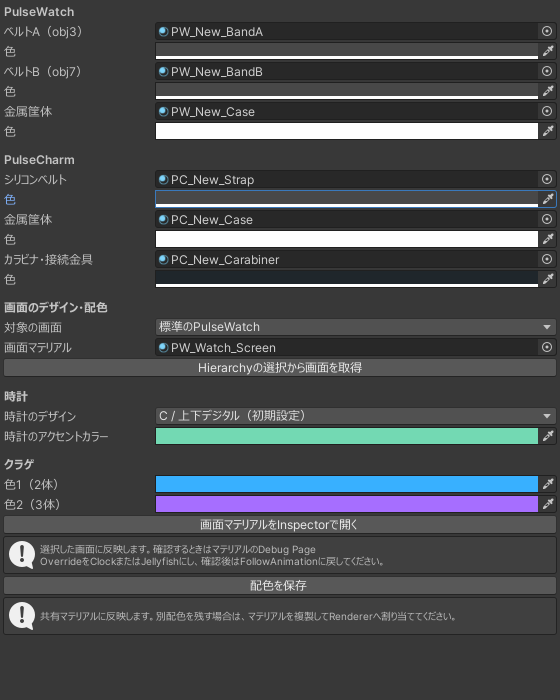
| パーツPart | マテリアルMaterial |
|---|---|
| 時計のベルトA / BWatch band A / B | PW_New_BandA / PW_New_BandBPW_New_BandA / PW_New_BandB |
| 時計の金属筐体Watch metal case | PW_New_CasePW_New_Case |
| Charmの短いシリコンベルトCharm silicone bridge | PC_New_StrapPC_New_Strap |
| Charmの金属筐体・ゲートCharm metal case and gate | PC_New_CasePC_New_Case |
| カラビナ本体・軸Carabiner body and hinge pin | PC_New_CarabinerPC_New_Carabiner |
本体はパーツごとのlilToonマテリアルのメインカラーを変更します。同じマテリアルを使うものに共通で反映されます。別々の配色にしたい場合は、マテリアルを複製して各Rendererへ割り当ててください。Body colors use the main color of each part’s lilToon material. Objects sharing a material share the change. Duplicate and assign materials to their renderers for independent color schemes.
時計のアクセントは同じツールの「時計」欄で変更できます。時計の設定手順 →Change the clock accent under Clock in the same tool. Clock setup →
クラゲの色も選択した画面マテリアル単位です。VRChatのExpression Menuから色を変更する方式ではありません。Jellyfish colors belong to the selected screen material. They are not changed through the VRChat Expression Menu.
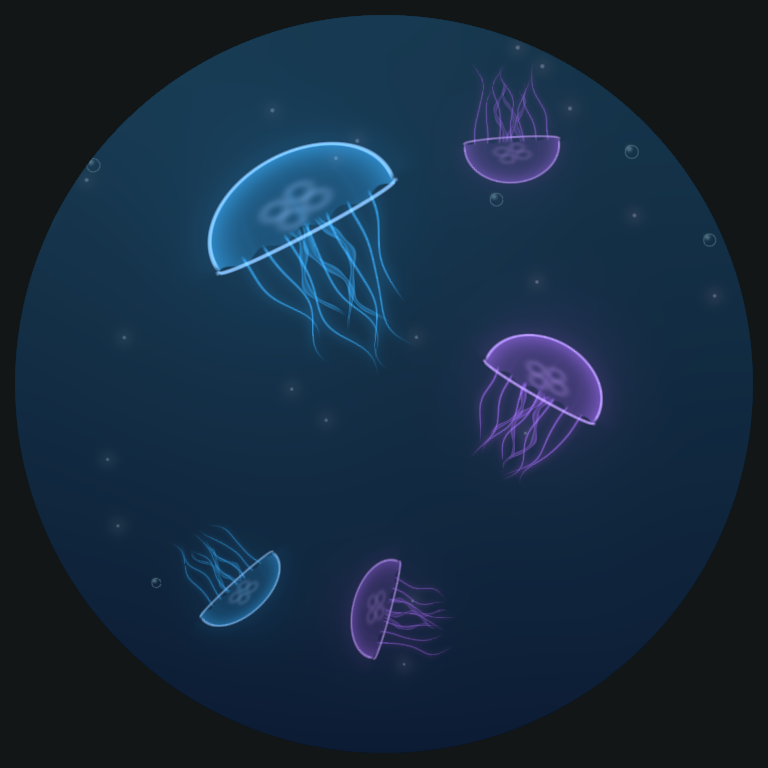
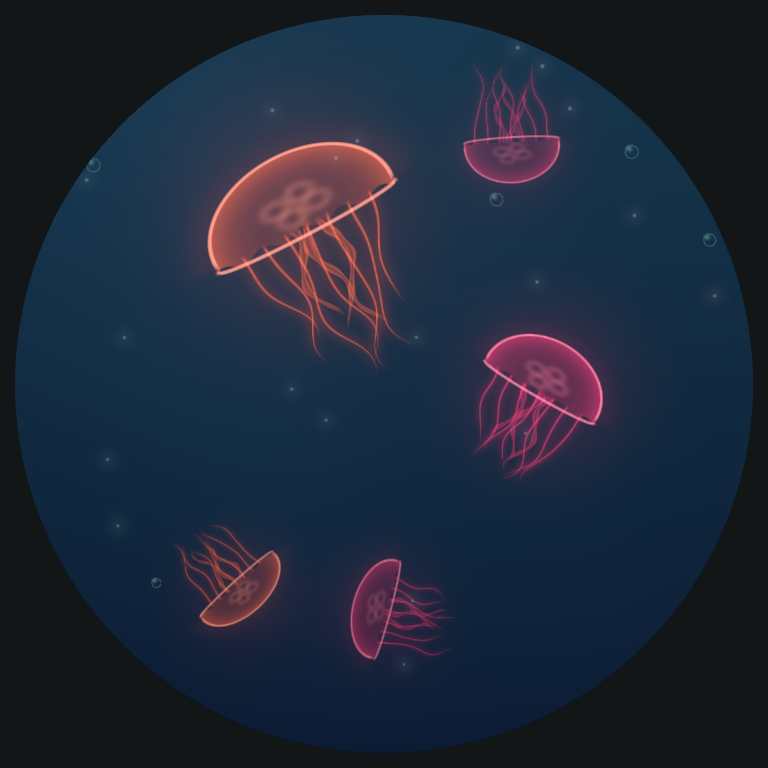
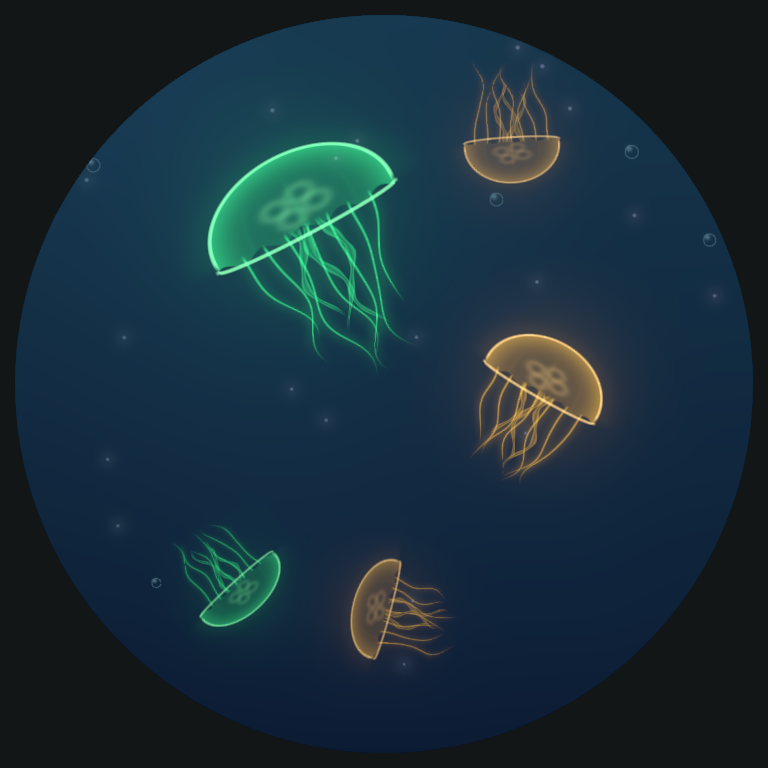
標準版のロゴとQRは横2コマ・FPS 0.2(5秒ずつ)です。背景柄を重ねたくない場合は BG Strength = 0。円形画面の外側は切れるため、大切な内容は中央へ寄せてください。The default logo and QR use two horizontal frames at 0.2 FPS (five seconds each). Set BG Strength = 0 to remove the background pattern. Keep important details centered because the screen clips the corners.
画像の配布・利用については、それぞれの権利や利用条件を確認してください。Make sure your image’s usage and distribution permissions allow your intended use.
心拍連携はPixelPulseと共通です。送信先のパラメータをPulseWatch専用へ変更する必要はありません。Heart rate setup is shared with PixelPulse. You do not need a separate PulseWatch destination parameter.
機材に合わせて、つなぎかたを選ぶ →Choose a connection for your gear →VRChatの Action Menu → Options → OSC → Enabled を有効にします。手動心拍を使っていた場合は、ラジアルを0へ戻してください。Enable Action Menu → Options → OSC → Enabled in VRChat. If you used manual HR, return its radial to 0.
バッテリー表示にはXSOverlayなどからのOSC入力が必要です。取得できる残量は機器・接続方式・送信ソフトによって異なります。入力がない項目は0表示になります。Battery display requires OSC input from a tool such as XSOverlay. Available values depend on the hardware, connection and sender. Fields without data show 0.
| 共有するものShared | 個別に選べるものIndependent |
|---|---|
| 心拍・バッテリーのOSC入力Heart rate & battery OSC input | 表示ON/OFFVisibility |
| 手動心拍の数字と小さな変動Manual HR value & its slight variation | 表示ページ・画面の明るさPage & brightness |
| どれかの手動心拍を0に戻すと、3つともOSCへSetting manual HR to 0 on one restores OSC on all three | 画面画像・マテリアルの配色Display image & material colors |
PixelPulse・PulseWatch・PulseCharmのどの組み合わせでも使えます。PulseWatch単体で使う場合、PixelPulseのインポートは不要です。Use any combination of PixelPulse, PulseWatch and PulseCharm. PixelPulse is not required to use PulseWatch on its own.
同期パラメータの追加量は時計27bit、PulseCharm27bit、両方で54bit。アバターやほかのギミックが使用する分は別途必要です。Synced parameter cost is 27 bits for the watch, 27 for PulseCharm, or 54 for both, in addition to the avatar and other accessories.
PrefabがアバターのHierarchy内にあるか、Modular Avatarを導入しているかを確認してください。時計の専用Prefabはアバターのルート直下、PulseCharmはアバター内の装着先ボーンの子へ置きます。Check that the prefab is inside the avatar hierarchy and Modular Avatar is installed. Put a watch preset directly under the avatar root; place PulseCharm under the target bone inside the avatar.
OSCが有効か、送信ソフトが動いているかを確認します。手動心拍が0以外だと、実際の心拍より優先されます。アバター更新直後に届かなくなった場合は、VRChatのOSCメニューからReset Configも確認してください。Check that OSC is enabled and the sending tool is running. A nonzero manual HR overrides live input. If data stops after an avatar update, check Reset Config in VRChat’s OSC menu.
画面の少し手前をつかんでから引き、1回ごとに手を離します。自分のPhysBoneをつかめる設定かも確認してください。髪や服の判定と重なる場合は、メニューからページを選べます。Grab just in front of the display, pull, then release before trying again. Check self-grabbing permissions. Use the menu if hair or clothing gets in the way.
カバンのメッシュではなく、実際に動くボーンの子へ置きます。ルートのMA PhysBone Blockerは残してください。短いベルトと筐体は、付け根を中心に揺れる設定です。Parent it to the moving bag bone rather than the mesh. Keep MA PhysBone Blocker. The short bridge and case swing around their attachment points.
配布版には画面用の補正メッシュを設定しています。シェーダーだけでなく、同梱のPrefabと画面メッシュも更新してください。画面を独自のメッシュへ差し替えている場合は、配布版の画面へ戻して確認します。The release uses a corrected screen mesh for the domed glass. Update the prefab and screen mesh along with the shader. If you replaced the screen mesh, check with the supplied mesh.
配布モデルはRead/Write Enabledを有効にしています。別のモデルに差し替えた場合は、そのFBXのImport Settings → ModelでRead/Write EnabledをONにしてApplyしてください。Consoleでエラー対象も確認します。The supplied models have Read/Write Enabled. If you substituted an FBX, enable it in that model’s import settings and click Apply. Check the Console for the specific failing mesh.
本体の素材はlilToonを導入してください。画面だけがピンクなら、同梱のPWScreen.shaderをReimportします。Install lilToon for body materials. If only the screen is pink, reimport the included PWScreen.shader.
パラメータ圧縮を使っている場合は、PW/HR・PWK/HR(PixelPulseはNL/HR)を圧縮対象から除外して確認してください。If you use parameter compression, exclude PW/HR and PWK/HR (NL/HR for PixelPulse) and check again.